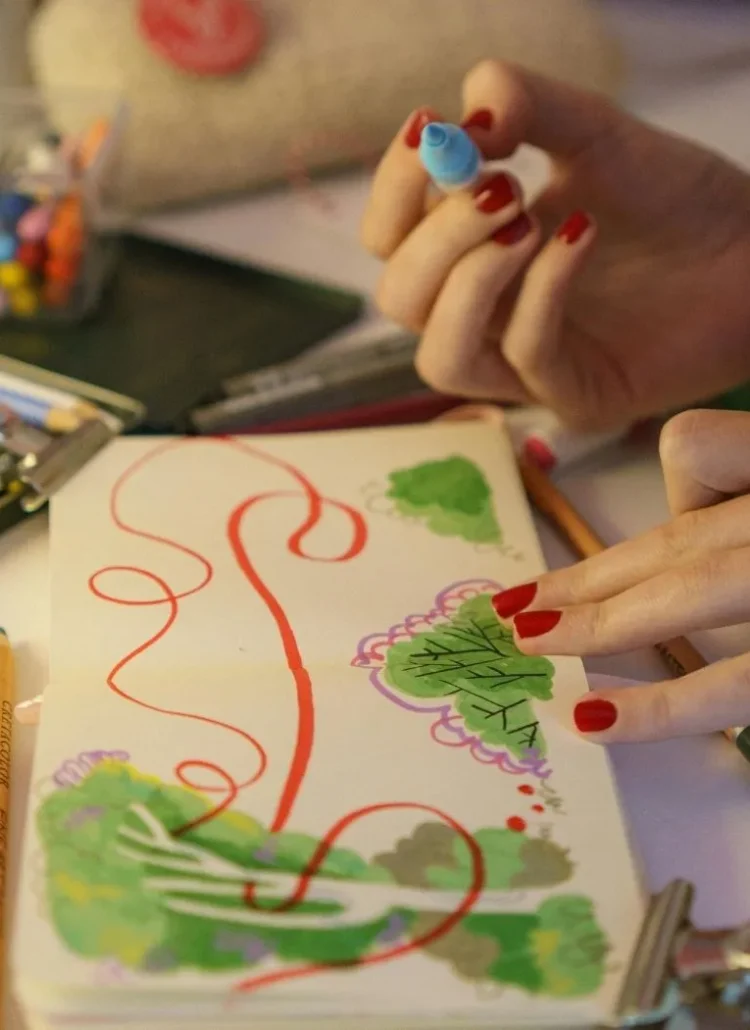
A 5-minute, step by step guide on how to create an aesthetic junk journal spread that you will love.
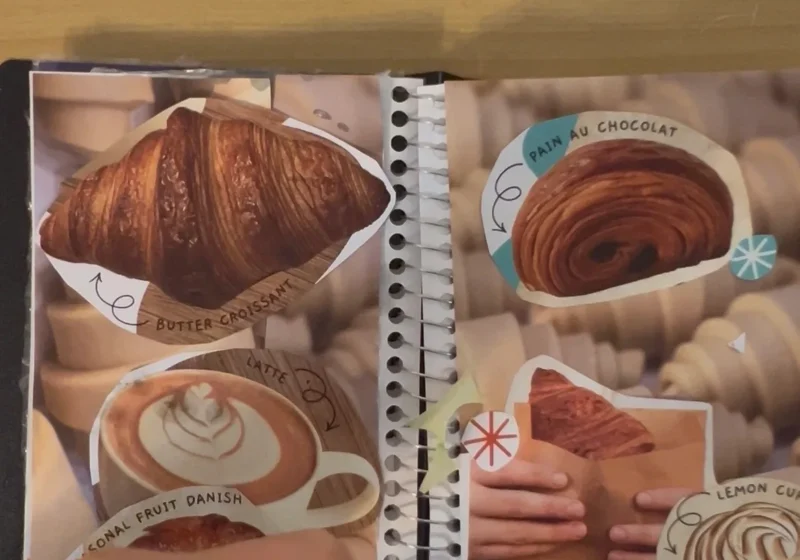
If you loved our post on Junk Journaling but find yourself staring at a blank page wondering how to piece it all together, this is for you.
After watching tons of junk journal videos, seeing different spreads on Pinterest, I have found the key to creating an elegant, cohesive layout. And no, artistic skills aren’t mandatory.
The key to creating that aesthetic junk journaling spread lies is layering and a nonchalant attitude of how things should be put together. I personally think the latter is more important. The whole point of junk journaling should enjoyable and therapeutic — being too tense or overthink about each piece removes the fun out of it.
A heads up on aesthetics…
Aesthetic is like beauty, it’s subjective. My idea of what’s aesthetically pleasing might be different from yours. There’s no right or wrong, just personal preferences.
Here is your 5-minute, step-by-step layout formula to turn collected scrap paper into a beautiful journal piece.
How To Create Your First Junk Journal Spread Using Old Magazines
Magazine journaling is one of the easiest ways to build an aesthetic spread because you can curate colors, textures, and words that instantly match your current mood. If you don’t have old magazines at home, check your local library, they usually have a donation bin older magazine issues.
You’ll Need:
- A blank journal page or used agenda notebook
- Old magazines
- Glue stick
- A pair of scissors
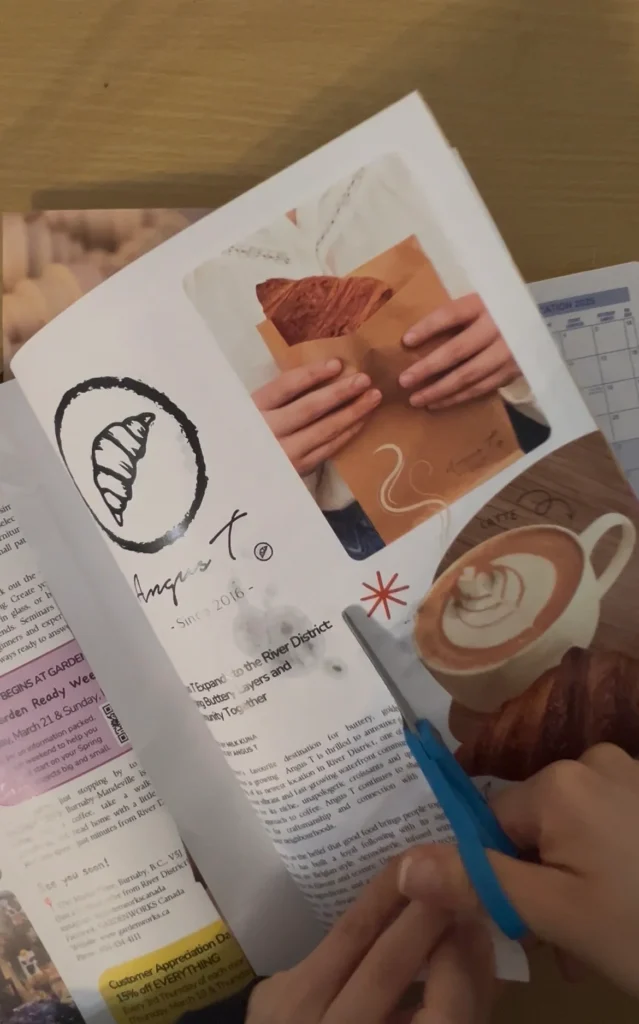
Step 1: Source your core visuals
Flip through the magazine and cut out images, patterns, or blocks of text that catches your eye. Gather a mix of large background textures and smaller focal images for a cohesive color palette.
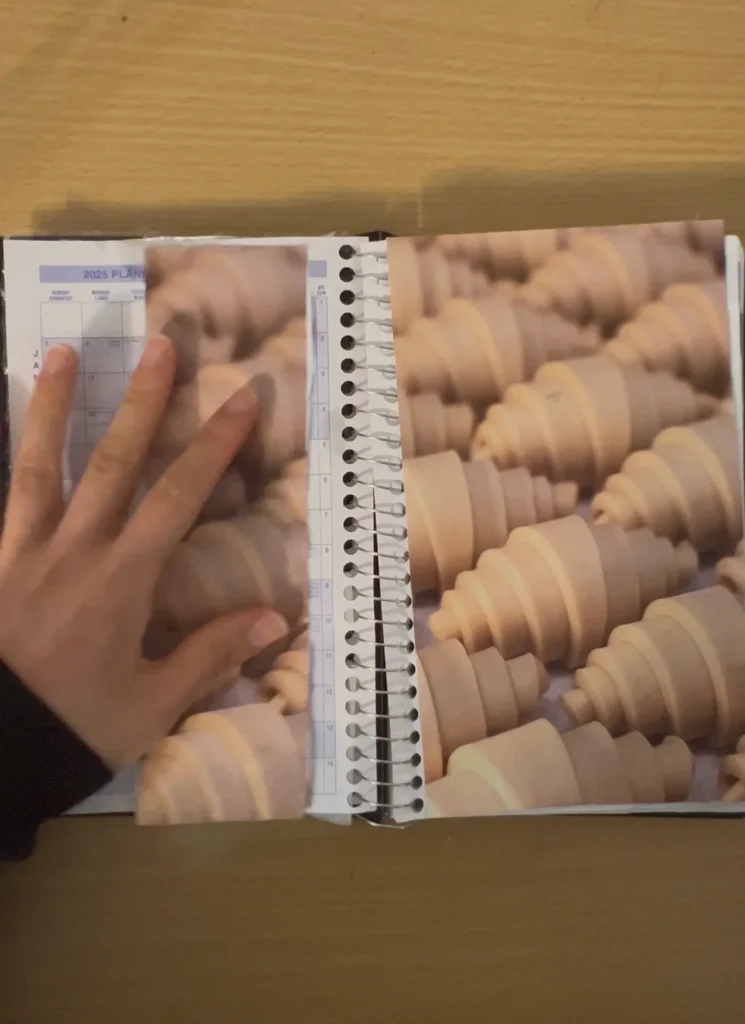
Step 2: Piece together your base layer
Take your larger magazine cutouts and begin arranging them on your blank journal page (I used an old agenda notebook).
Overlap the edges slightly to cover the white space and break up the page. Don’t glue anything down yet, play around with the arrangement until it feels “right” and balanced.
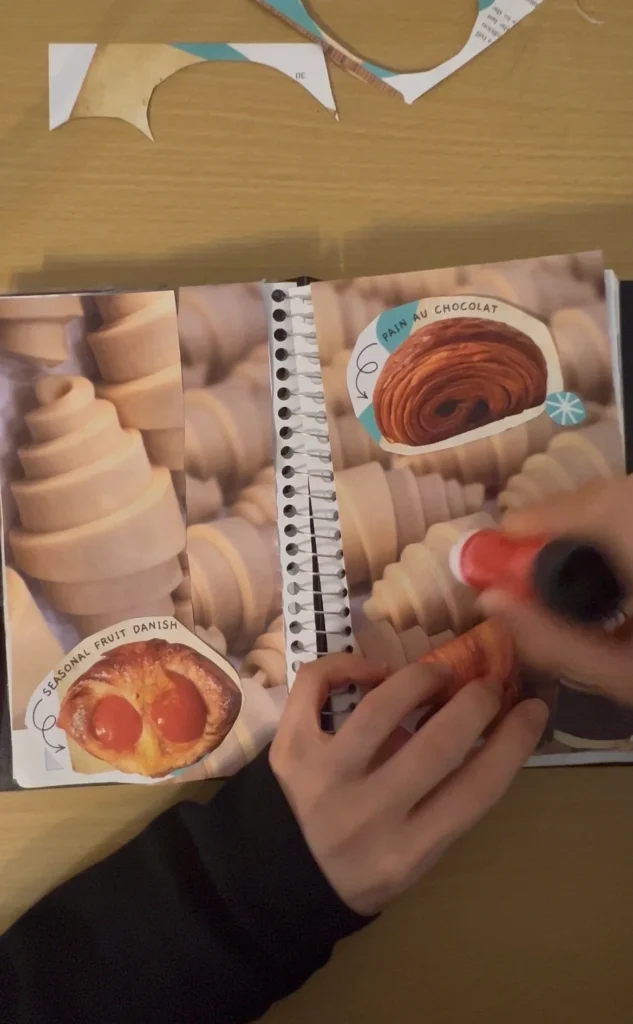
Step 3: Secure your focal accents
Once you are happy with your background layout, use your glue stick to secure the pieces flat. Next, layer your smaller cutouts (like a favorite quote, an interesting portrait, or a tiny pop of color) right on top to create a central focus point.
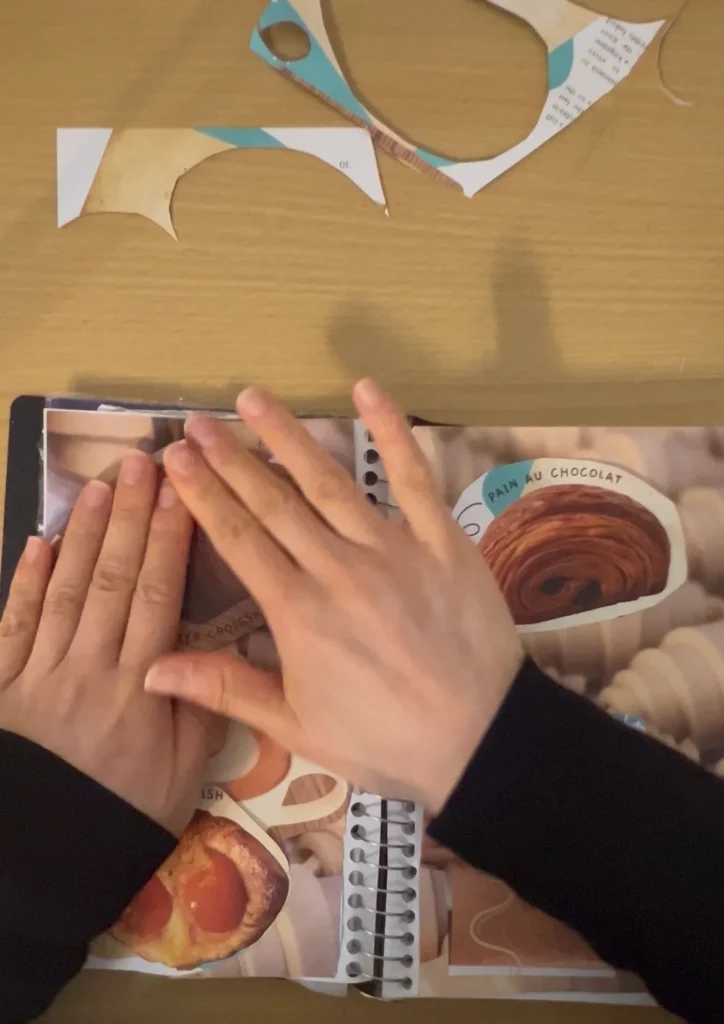
Step 4: Reflection space
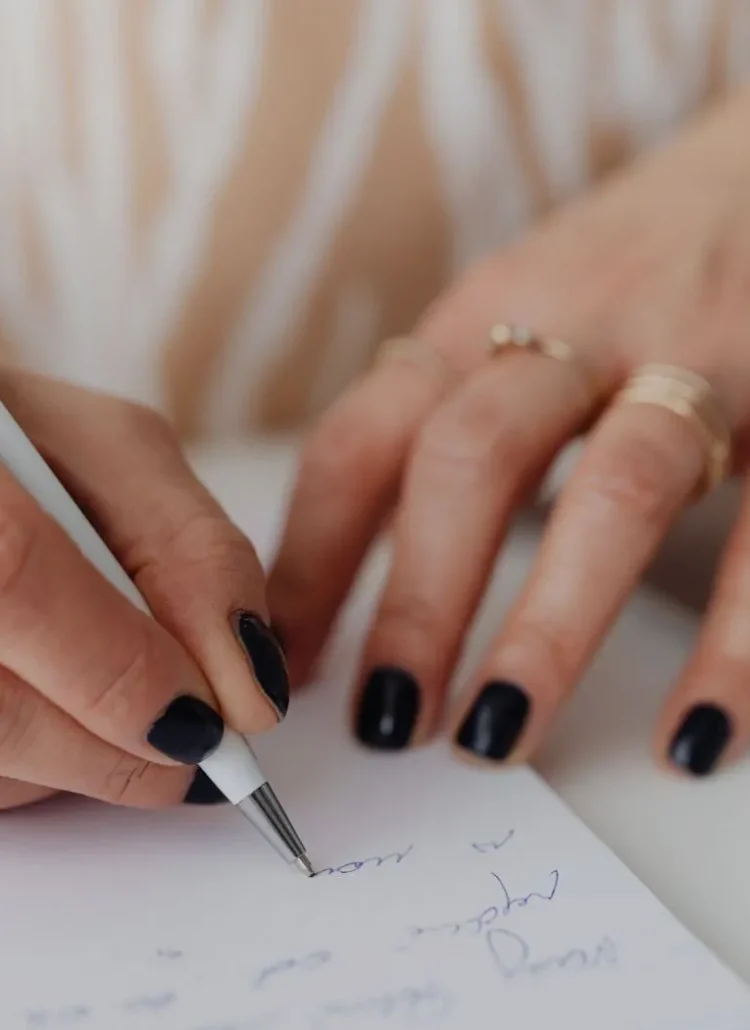
Use any remaining open space on the page to put pen to paper. Use this space to write a quick daily reflection, expand on a word you cut out of the magazine, or explore one of our 88 journal page ideas for inspiration.
Watch the below to see how the final product!